Easy Clay Pie Recipe-Fun Craft Fun
How to Make a Clay Pie is more than just a recipe; it’s an invitation to a truly unique culinary adventure. Forget everything you think you know about pies! This isn’t about delicate pastry and sweet fillings. Instead, we’re diving into a world where earth meets edible art, creating a dish that’s as visually stunning as it is surprisingly delicious. People absolutely adore clay pie for its novelty, its rustic charm, and the sheer satisfaction of crafting something so elemental. What makes it truly special is the transformative process – turning simple ingredients into a show-stopping centerpiece that’s perfect for gatherings, a fun activity for families, or even a memorable gift. Get ready to get your hands dirty in the most delicious way possible!
Why You’ll Love This Clay Pie
A Rustic Masterpiece
The allure of a clay pie lies in its incredibly earthy presentation. Imagin extracte a pie that looks like it’s been unearthed from a hidden garden, with its natural, textured “crust” and vibrant, often vegetable-based, fillings. It’s a conversation starter, a testament to creative cooking, and a delightful departure from the ordinary. The anticnon-alcoholic ipation of breaking through that hardened “clay” to reveal the hidden treasures within is part of the joy. So, let’s embark on this exciting journey to craft your very own show-stopping clay pie. You won’t regret it!
Making a Charming Miniature Clay Pie
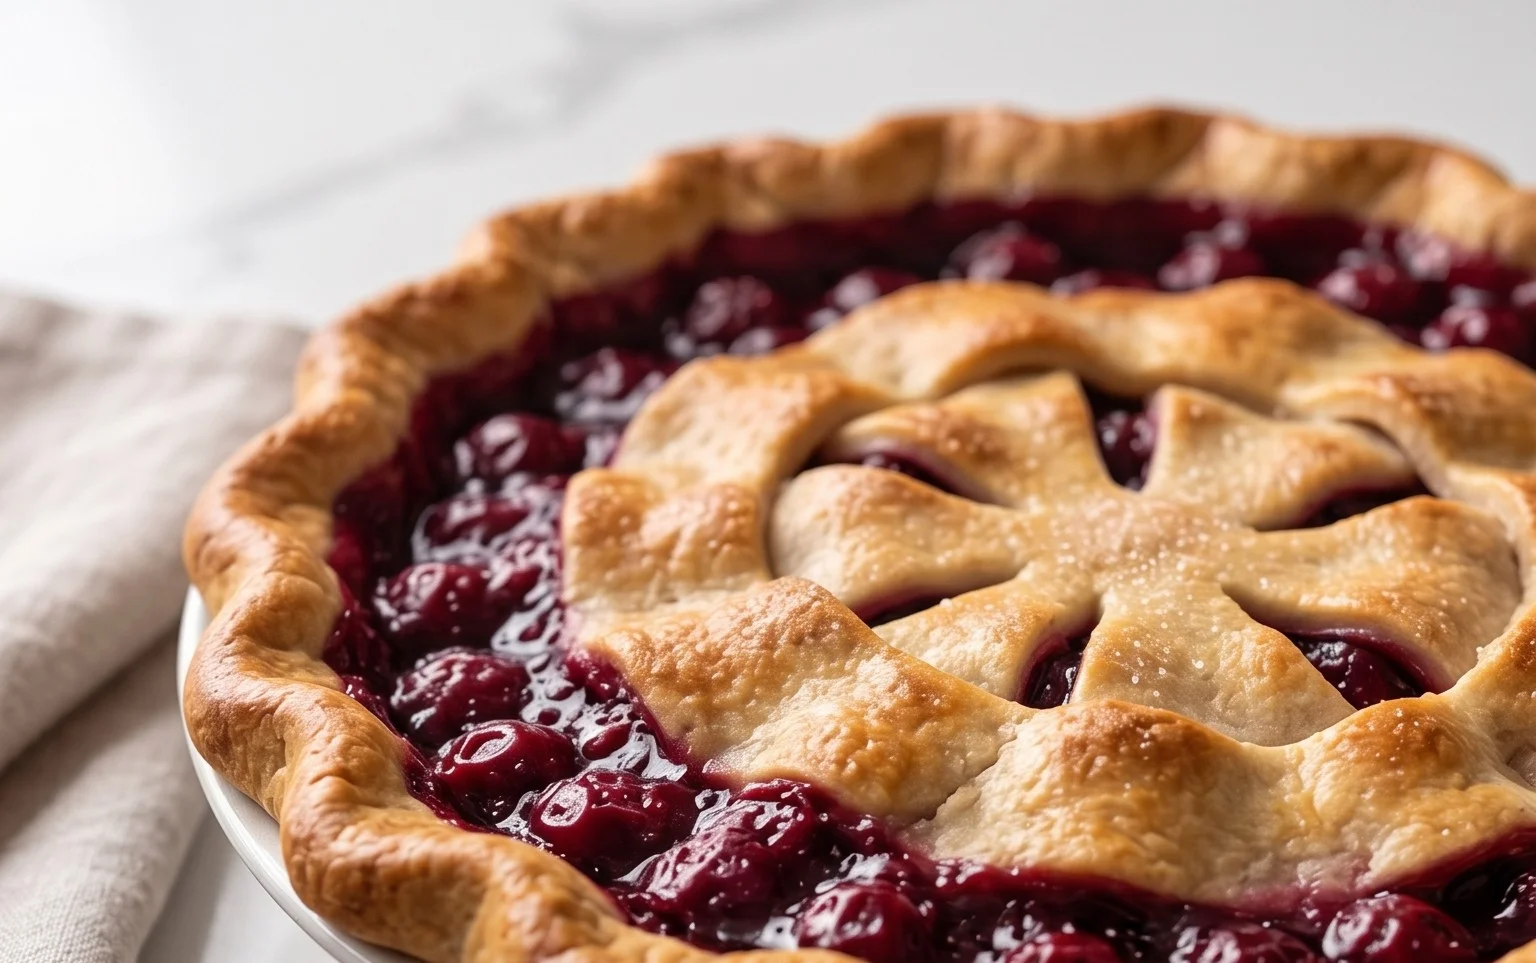
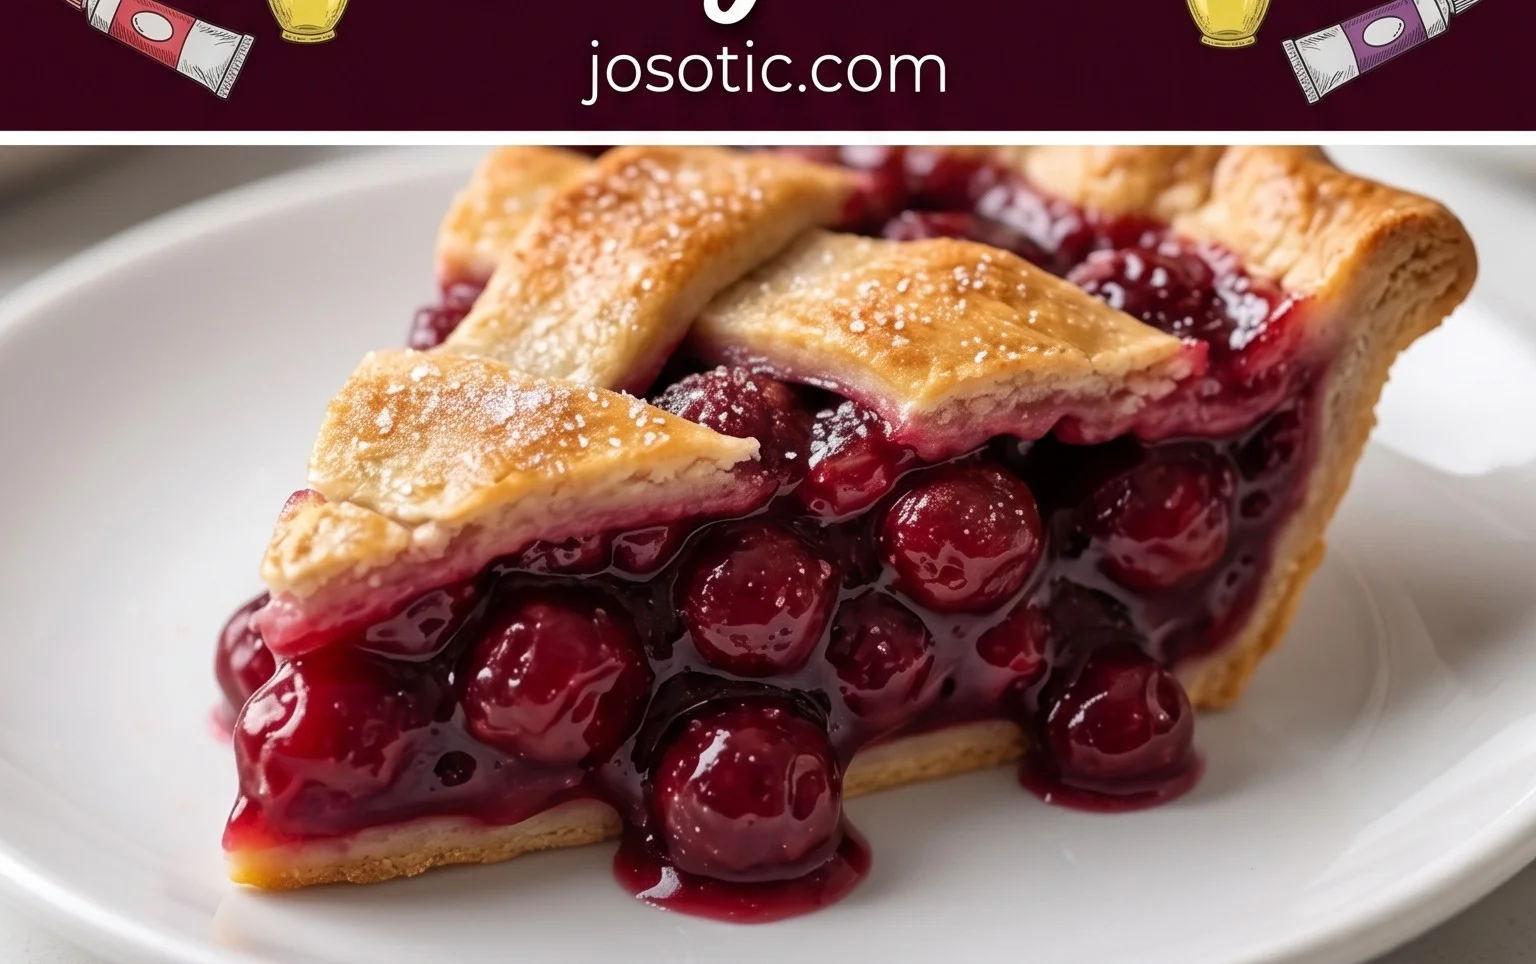
Creating a miniature clay pie is a delightful way to add a touch of whimsy and realism to your crafting projects. Whether you’re building a dollhouse scene, decorating a charm, or simply enjoying the process of miniaturizing everyday objects, a tiny pie is an irresistible addition. Today, we’re going to craft a sweet-looking berry pie, complete with a rustic crust and a hint of delicious depth. It’s a process that’s surprisingly simple and incredibly rewarding, allowing you to unleash your inner baker and artist.
Ingredients:
Crafting Your Miniature Pie
This recipe is designed for you to create a beautiful, realistic-looking miniature pie. We’ll be using polymer clay, which bakes to a durable finish, and a few simple tools to achieve a professional look. So, gather your supplies and let’s get started on this miniature culinary adventure!
Preparing the Crust
1. Begin extract by taking a generous portion of your tan polymer clay. I like to knead it for a minute or two until it’s soft, pliable, and easy to work with. This ensures a smooth, even base for our pie crust. For a standard-sized miniature pie, I usually start with a ball of clay about the size of a large marble, but this can be adjusted depending on the desired size of your finished pie.
Now, we need to create the pie dish. Take one of your silver bottle caps and use it as a mold. Press the tan clay into the bottle cap, ensuring it evenly lines the bottom and goes up the sides. I like to create a slightly thicker edge around the top of the crust, mimicking the way a real pie crust would slightly overhang the dish. You can use your fingertip or a small tool to gently press and shape this rim. Don’t worry about perfection; a slightly rustic look adds to the charm of a handmade pie. Make sure the clay is pressed firmly against the bottle cap so it takes on its shape well. Once you have the basic pie dish shape formed, carefully remove the clay from the bottle cap. You should now have a hollow pie crust shape that perfectly fits inside the cap. If the edges are a bit uneven, you can gently smooth them with your fingers.
Creating the Filling
2. Next, it’s time to prepare our pie filling. For a classic berry pie, the red polymer clay is perfect. Take a smaller amount of red clay than you used for the crust, and knead it until it’s smooth and consistent in colour. The amount will depend on how “full” you want your pie to look. I find that a ball of clay about half the size of the crust ball works well for a nicely filled pie.
Now, gently press this red clay into the bottom of your tan crust. You want to fill the hollow you created, making sure to distribute it evenly. I like to leave a slight dome in the center, as most fruit pies tend to be a bit fuller in the middle. You can gently press it down with your finger or a small tool to ensure it’s secure and evenly spread. If you’re making a different kind of pie, like apple or pecan, you would use different colours and potentially add texture here, but for our red berry pie, smooth is the way to go for now.
Adding Texture and Depth
3. To give our pie a more authentic and delicious look, we need to add some texture and depth to the filling. This is where the soft pastels come in. Using a fine brush or a cotton swab, gently apply the darker shade of brown pastel around the edges of the red filling, blending it slightly into the red. This creates a subtle shading effect, making the filling look like it’s been cooked and caramelized. Think of how the fruit in a real pie can darken around the edges.
After applying the darker shade, use the lighter shade of brown pastel to add some highlights. Dab it very lightly in the center of the filling, and perhaps a few very small specks here and there. The goal is to create variation in colour, making the filling look more natural and less like a solid block of clay. Don’t overdo it; a little pastel goes a long way in creating realistic shading. This step is crucial for adding that “wow” factor to your miniature pie.
Finishing the Crust Detail
4. Now, let’s focus on the crust’s exterior. We want it to look like it’s been baked to a golden-brown perfection. Using the same soft pastels and your brush or cotton swab, gently apply the lighter brown pastel to the rim of the tan crust. Focus on the raised edge you created earlier. Blend the pastel slightly into the tan clay, paying attention to areas that would naturally get more colour in a real oven. You can even add a touch of the darker brown pastel to create some subtle darker patches, mimicking browned spots.
If you want to add a lattice top, now would be the time to do so with thin strips of tan clay. However, for this recipe, we’re focusing on a simple, open-faced pie. Once you’re happy with the colouring, you can use a sharp tool, like a needle or a toothpick, to gently create some very fine lines on the crust’s surface. These lines can mimic the texture of baked dough, adding another layer of realism.
Baking and Final Touches
5. Once you are completely satisfied with the appearance of your miniature pie, it’s time to bake it. Follow the baking instructions for your specific brand of polymer clay. Generally, this involves baking in a preheated oven at a low temperature (usually around 275°F or 135°C) for a specific amount of time, often 15-30 minutes depending on the thickness of the clay. It’s always a good idea to do a test bake with a scrap piece of clay if you’re unsure.
After baking, allow the pie to cool completely. Once it’s cool, you can gently place it back into its silver bottle cap base if you removed it for baking. If you want to add a glaze, you can use a clear gloss varnish or resin, but I often find the baked polymer clay itself has a lovely sheen. You can also gently sand down any rough edges with very fine-grit sandpaper if needed. And there you have it – your very own charming miniature clay pie, ready to be admired or incorporated into your next crafty creation!
Conclusion:
Making your own clay pie is a wonderfully rewarding experience, offering a unique and tactile creative outlet. This recipe is fantastic because it’s simple to follow, uses readily available materials, and the results are surprisingly impressive. The earthy texture and the freedom to sculpt and decorate make each clay pie a personal masterpiece. You can use your finished clay pies as charming decorative pieces for your home, as unique gifts, or even as part of a larger art project. Imagin extracte them adorning a bookshelf, a mantelpiece, or as a centerpiece for a special occasion. The possibilities are truly endless!
For serving suggestions, think outside the box! While they aren’t edible, they serve as beautiful “dishes” for other small decorative items. You could place tiny faux fruits inside, or even use them as holders for special trinkets. When it comes to variations, don’t be afraid to experiment! Try adding different natural pigments to your clay for unique colors, incorporate small embellishments like beads or dried flowers into the surface before it dries, or even try creating different “filling” textures. The most important part is to have fun and enjoy the process. I truly encourage you to give this clay pie recipe a try; I think you’ll be delighted with what you can create!
Frequently Asked Questions:
What kind of clay should I use for this recipe?
For this project, a simple air-dry clay or modeling clay is ideal. These types of clay are non-toxic, easy to work with, and don’t require any special firing equipment. You can find them at most craft stores. If you’re feeling adventurous, you could also experiment with salt dough, though the texture will be slightly different.
How long does it take for the clay pie to dry?
The drying time will vary depending on the thickness of your clay pie and the humidity of your environment. Generally, air-dry clay can take anywhere from 24 to 72 hours to dry completely. You can speed up the process slightly by placing it in a warm, dry area, but avoid direct heat which can cause cracking. Once it’s completely dry and hard to the touch, it’s ready for decorating.
Can I paint my clay pie?
Absolutely! Once your clay pie is fully dry, it’s a perfect canvas for painting. Acrylic paints work wonderfully and offer a wide range of colors and finishes. You can paint it realistic or abstract, add details, or even seal it with a clear varnish for added durability and a glossy finish.
How to Make a Clay Pie
A fun and easy craft project to create a realistic-looking clay pie using polymer clay and other crafting materials.
Ingredients
-
Tan Polymer clay
-
Silver bottle cap(s)
-
Red Polymer clay (for filling)
-
Soft pastels (2 shades of brown)
-
Clear sealant (for finish)
-
Craft knife
-
Rolling pin
Instructions
-
Step 1
Condition the tan polymer clay by kneading it until pliable. Roll it out thinly to form the pie crust. -
Step 2
Cut a circle from the rolled-out clay that is slightly larger than your silver bottle cap base. This will be your pie crust. -
Step 3
Place the tan clay crust over the silver bottle cap, pressing it down to create the pie dish shape. Trim any excess clay. -
Step 4
Condition the red polymer clay and roll it into a ball. Flatten it slightly to create the pie filling. Place this on top of the crust inside the bottle cap. -
Step 5
Using a craft knife, cut decorative strips from the remaining tan clay for a lattice top, or create other crust designs. Attach them to the edge of the pie. -
Step 6
Gently dust the pie crust with the two shades of brown soft pastels using a brush to create a baked appearance. -
Step 7
Bake the clay pie according to the polymer clay manufacturer’s instructions. Typically around 15 minutes at 275°F (135°C). -
Step 8
Allow the pie to cool completely. Apply a thin layer of clear sealant for a glossy finish if desired.
Important Information
Nutrition Facts (Per Serving)
It is important to consider this information as approximate and not to use it as definitive health advice.
Allergy Information
Please check ingredients for potential allergens and consult a health professional if in doubt.