Gluten-Free Sweet Potato Tortillas Easy Vegan Wraps
Sweet Potato Tortillas (Gluten-Free Vegan Wraps) are about to become your new kitchen obsession! If you’ve been searching for a delicious, wholesome, and versatile base for your favorite fillings, your search ends here. These vibrant, naturally sweet tortillas are more than just a gluten-free and vegan alternative; they’re a flavor explosion waiting to happen. People adore them because they offer a satisfying chew, a beautiful earthy sweetness that complements both savory and sweet toppings, and they’re surprisingly easy to make. What truly makes these sweet potato tortillas special is their adaptability. Whether you’re craving breakfast burritos, vibrant veggie wraps, or even a unique dessert base, these sweet potato tortillas (gluten-free vegan wraps) deliver. Forget those store-bought options that often fall apart or lack personality. Get ready to create something truly special that will have everyone asking for the recipe!
Ingredients:
Sweet Potato Tortillas: Gluten-Free Vegan Wraps
I’m so excited to share this recipe for Sweet Potato Tortillas with you all! If you’ve been on the hunt for a delicious, flexible, and naturally gluten-free vegan wrap, your search ends here. These tortillas are a game-changer, bringin extractg a beautiful color and subtle sweetness from the sweet potato, which also contributes to their wonderfully soft texture. They’re perfect for everything from breakfast burritos to savory lunch wraps and even as a base for creative appetizers. Making your own tortillas is incredibly rewarding, and this recipe is surprisingly straightforward, even for those new to gluten-free baking.
The magic of these tortillas lies in the combination of wholesome ingredients. The mashed sweet potato provides moisture, nutrients, and that gorgeous hue. Vegan butter adds richness and helps with browning. The hot water is crucial for activating the psyllium husk, which acts as our binder, mimicking the elasticity of gluten. Spices like sea salt, black pepper, onion powder, and garlic powder lend a savory depth that complements the sweetness of the potato. And, of course, our gluten-free sourdough starter is the secret weapon for that authentic, slightly tangy flavor and chew that you’d expect from a traditional tortilla. If you don’t have a gluten-free sourdough starter, don’t worry, I’ve included notes on how to create a delicious alternative that will still give you fantastic results. Arrowroot flour helps to create a tender crum extractb, and the optional baking powder can give them a little extra lift if you like a puffier tortilla.
Preparing the Sweet Potato
The first step to creating these delightful tortillas is to prepare your sweet potatoes. You want to ensure they are cooked until very tender so that they can be easily mashed into a smooth consistency. Steaming or boiling them without excess water is key. If you boil them, drain them thoroughly immediately after cooking and let them sit in the colander for a few minutes to allow any residual moisture to escape. This prevents your dough from becoming too wet, which can make it difficult to handle. Once cooked and drained, mash them thoroughly with a fork or a potato masher until there are no lumps. You’re aiming for a smooth, almost purée-like texture. Let the mashed sweet potato cool slightly before proceeding to the next step.
Mixing the Dough
In a large mixing bowl, combine the cooled mashed sweet potato with the softened vegan butter (or oil/ghee). Using your hands or a sturdy spatula, mix these together until they are well incorporated and the butter is mostly melted into the warm sweet potato. Next, add the hot water, sea salt, black pepper, onion powder, and garlic powder. Mix everything together until it forms a cohesive, slightly sticky mixture.
Now, it’s time to introduce the star of the show for our gluten-free bind: the gluten-free sourdough starter. Stir this into the sweet potato mixture until it’s evenly distributed. If you’re using psyllium husk, whisk it into the mixture now. The psyllium husk will begin extract to absorb the moisture and thicken the batter, so work relatively quickly. If you don’t have gluten-free sourdough starter, you can substitute it with an equal amount of water and 1 tablespoon of apple cider vinegar, letting it sit for 5-10 minutes to activate, or use a commercial gluten-free vegan yogurt.
Finally, gradually add the arrowroot flour, a tablespoon at a time, mixing after each addition. You’re looking for a dough that is soft and pliable, but not overly sticky. It should be firm enough to handle but still have a slight tackiness. If it feels too wet, add a little more arrowroot flour, but be careful not to add too much, as this can make your tortillas dry and brittle. If you are using the optional baking powder for extra puffiness, stir it in with the arrowroot flour. The dough will come together with a bit of kneading.
Kneading and Resting the Dough
Once your dough has reached the right consistency, turn it out onto a lightly floured surface (use more arrowroot flour or your preferred gluten-free flour). Gently knead the dough for about 2-3 minutes. You’re not looking for extensive gluten development here, as there’s no gluten! Instead, this step helps to ensure all the ingredients are well incorporated and that the psyllium husk is evenly distributed, allowing it to work its magic in binding the dough. The dough should become smoother and more elastic-like.
After kneading, shape the dough into a ball. Place the dough back into the mixing bowl, cover it with a damp tea towel or plastic wrap, and let it rest for at least 15-20 minutes. This resting period is crucial. It allows the psyllium husk to fully hydrate and bind the ingredients, making the dough much easier to handle and roll out. It also gives the flavors a chance to meld together beautifully.
Shaping the Tortillas
After the resting period, divide the dough into 4-6 equal portions, depending on how large you want your tortillas to be. Roll each portion into a smooth ball. Place one dough ball between two sheets of parchment paper. Using a rolling pin, gently roll out the dough into a thin, round tortilla, about 6-8 inches in diameter. Aim for an even thickness; if the edges are cracking too much, your dough might be a little dry, but don’t worry, it’s often salvageable. You can gently press them back together. If the dough is sticking to the rolling pin, lightly dust the parchment paper or your hands with a little arrowroot flour. Repeat this process with the remaining dough balls, stacking the parchment paper between the rolled tortillas if you need to set some aside.
Cooking the Tortillas
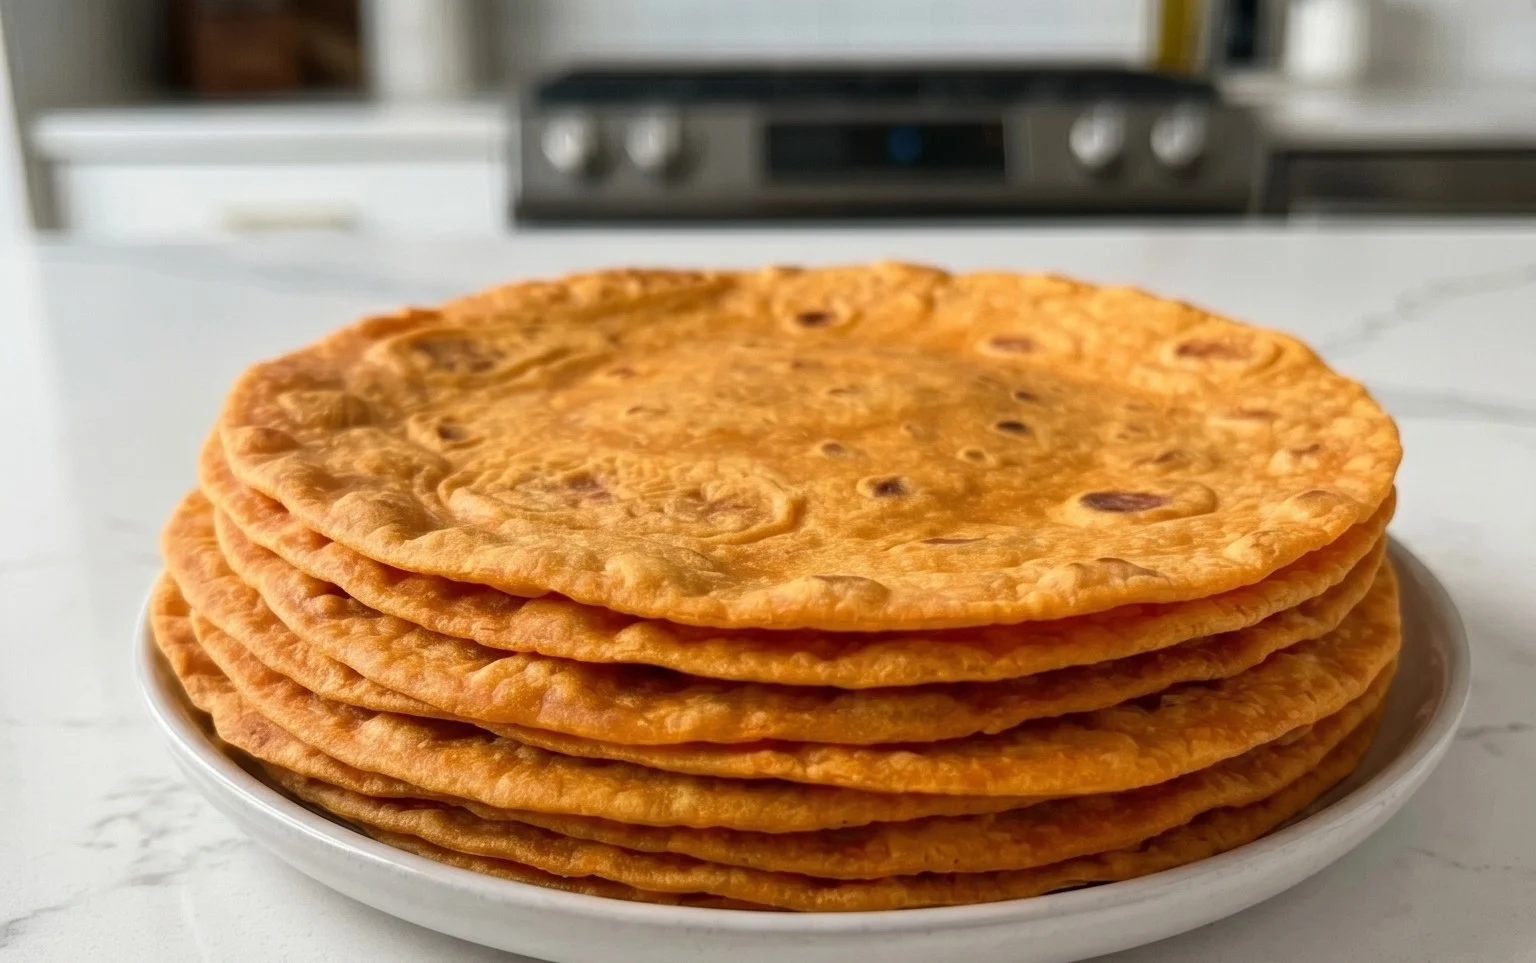
Now for the best part – cooking! Heat a dry non-stick skillet or griddle over medium heat. You don’t need any oil for this step. Once the pan is hot, carefully peel off the top sheet of parchment paper and gently place one tortilla into the hot skillet, parchment-side up. Cook for about 2-3 minutes per side, or until golden brown spots appear and the tortilla starts to puff up slightly. You’ll see little bubbles forming on the surface; this is a good sign! Flip the tortilla and cook the other side for another 2-3 minutes.
As each tortilla is cooked, transfer it to a plate lined with a clean tea towel and cover it immediately with another tea towel. This is a vital step to keep the tortillas soft and pliable. The steam trapped by the towels will prevent them from becoming crispy or dry. Continue cooking the remaining tortillas in the same manner, stacking them in the towel-lined plate as you go. Once all the tortillas are cooked, allow them to cool slightly before serving.
These Sweet Potato Tortillas are best enjoyed fresh, but they can also be stored in an airtight container at room temperature for a day or two, or in the refrigerator for up to 4 days. To reheat, gently warm them in a dry skillet, a microwave, or a low oven. Enjoy your delicious, homemade, gluten-free, and vegan wraps!
Conclusion:
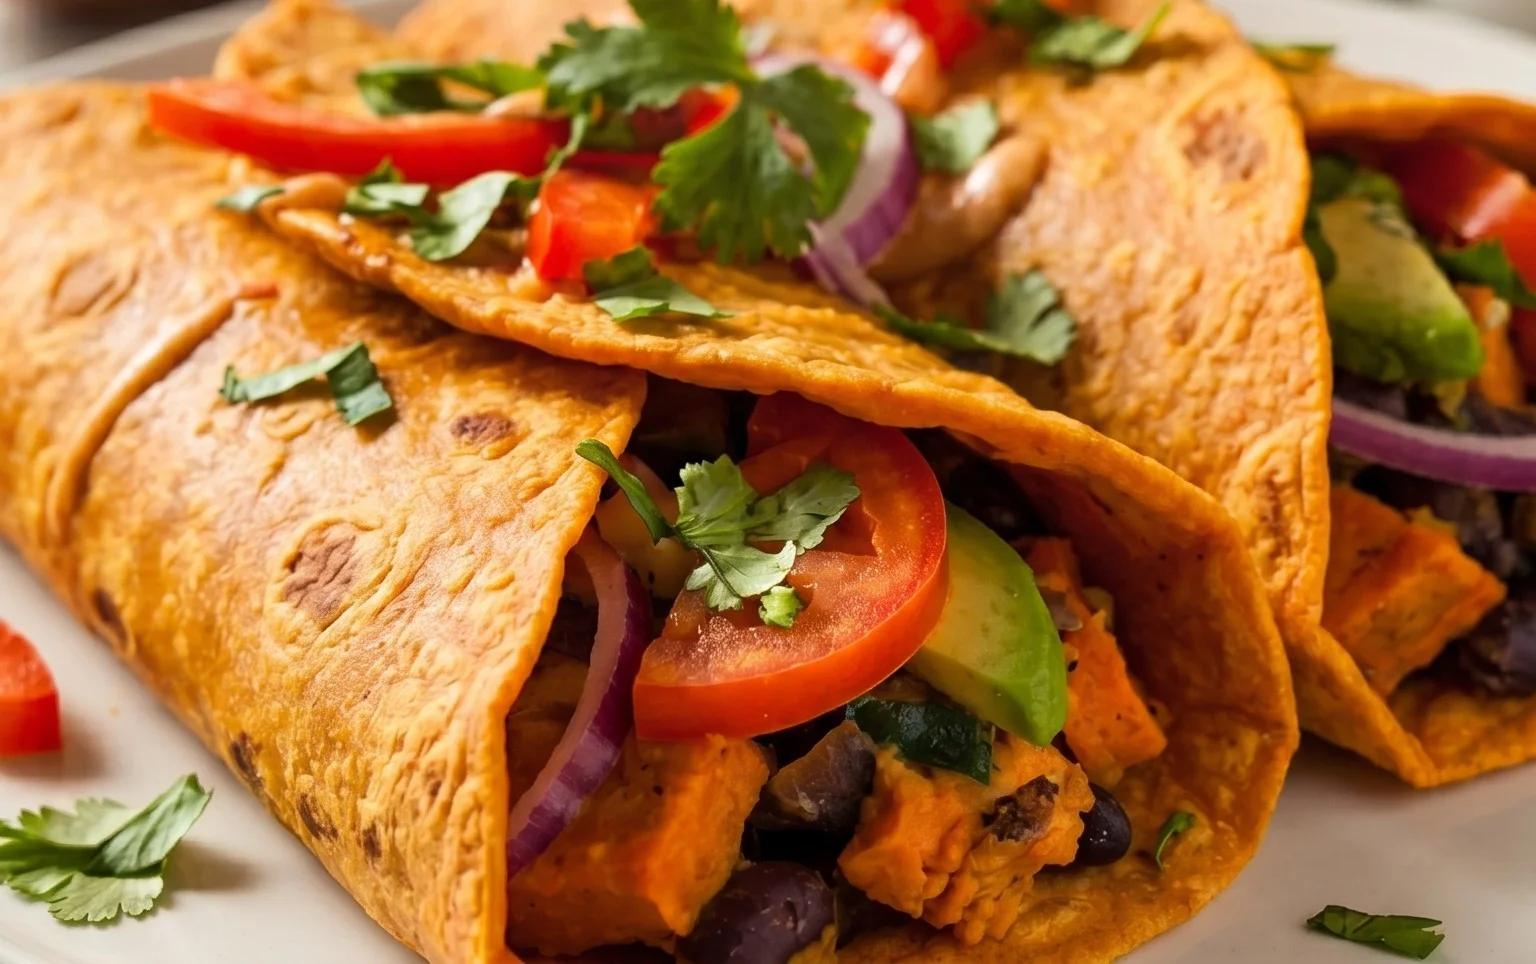
I hope you’re as excited as I am to try these delicious and versatile Sweet Potato Tortillas! These gluten-free vegan wraps are a fantastic alternative to traditional tortillas, offering a subtly sweet flavor and a wonderfully pliable texture that holds up beautifully to all your favorite fillings. They’re not only a healthier choice but also a joy to make, transforming simple ingredients into something truly special. Whether you’re looking for a quick weeknight meal solution or a creative way to cater to dietary needs, these sweet potato tortillas are sure to impress.
The beauty of these wraps lies in their adaptability. Stuff them with black beans and salsa for a classic taco experience, layer them with hummus and roasted vegetables for a satisfying lunch wrap, or even use them as a base for mini pizzas. Get creative with your toppings and enjoy the endless possibilities! I encourage you to give this recipe a try – I’m confident you’ll love them as much as I do.
Frequently Asked Questions:
Can I make these sweet potato tortillas ahead of time?
Absolutely! You can prepare the dough and refrigerate it for up to 2 days before cooking. Once cooked, the tortillas are best enjoyed fresh, but they can be stored in an airtight container at room temperature for a day or two, or in the refrigerator for up to 4 days. Reheat gently in a dry skillet or microwave.
What if my sweet potato is too watery?
If your mashed sweet potato seems excessively watery, you can gently cook it down in a saucepan over medium-low heat for a few minutes, stirring constantly, until some of the moisture evaporates. This will help achieve the right dough consistency for your sweet potato tortillas.
Can I substitute the gluten-free flour blend?
While the specific blend used here is designed for optimal texture, you can experiment with other gluten-free all-purpose flour blends. Keep in mind that results may vary slightly depending on the composition of the blend. Adding a small amount of psyllium husk can sometimes improve elasticity if your blend is prone to crum extractbling.
Sweet Potato Tortillas (Gluten-Free Vegan Wraps)
Delicious and versatile gluten-free vegan wraps made with sweet potato, perfect for any filling.
Ingredients
-
2 small sweet potatoes – steamed or boiled (no liquid / mashed)
-
2 tbsp vegan butter
-
1-2 tbsp hot water
-
3/4 tsp sea salt
-
1/4 tsp black pepper
-
1/2 tsp onion powder
-
1/2 tsp garlic powder
-
3/4 cup gluten free sourdough starter
-
2 tsp psyllium husk
-
2-3 tbsp arrowroot flour
-
1/2 tsp baking powder
Instructions
-
Step 1
Mash the steamed or boiled sweet potatoes until very smooth. Ensure there is no excess liquid. -
Step 2
In a bowl, combine the mashed sweet potato, vegan butter, hot water, sea salt, black pepper, onion powder, and garlic powder. Mix well. -
Step 3
Stir in the gluten-free sourdough starter and psyllium husk until fully incorporated. -
Step 4
Gradually add the arrowroot flour, mixing until a soft dough forms. If using, add the baking powder. -
Step 5
Knead the dough lightly on a floured surface for a minute until it becomes pliable. Divide the dough into 4-6 equal portions. -
Step 6
Roll each portion thinly between two pieces of parchment paper into tortilla shapes. -
Step 7
Heat a lightly oiled skillet or griddle over medium heat. Cook each tortilla for 2-3 minutes per side, until lightly golden and cooked through.
Important Information
Nutrition Facts (Per Serving)
It is important to consider this information as approximate and not to use it as definitive health advice.
Allergy Information
Please check ingredients for potential allergens and consult a health professional if in doubt.