Quick Pickled Red Onions- Easy & Delicious Recipe
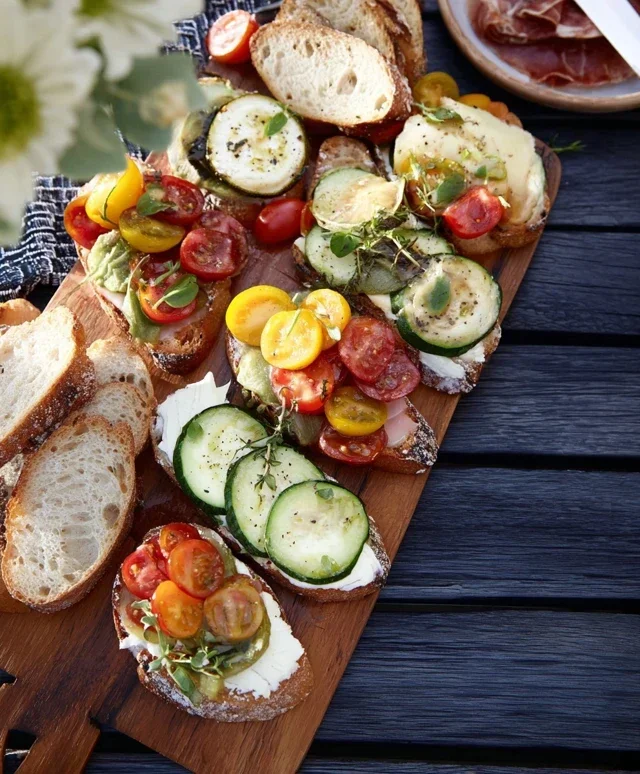
Pickled red onions are a true culinary superpower, transforming ordinary meals into something truly extraordinary with just one vibrant spoonful. You’ve probably encountered their dazzling magenta hue and tangy punch on everything from tacos and avocado toast to gourmet burgers and vibrant salads. And if you haven’t, prepare to be amazed! What makes these simple pickled red onions so utterly irresistible? It’s their incredible versatility and the way they cut through richness, adding a bright, refreshing counterpoint that awakens your palate. They’re the perfect balance of sweet, sour, and savory, with a satisfying crunch that elevates textures. Plus, the sheer joy of making these gorgeous pickled red onions yourself, knowing you’ve got a jar of pure flavor magic ready to deploy, is incredibly rewarding.
Pickled Red Onions: The Vibrant Condiment That Elevates Everything
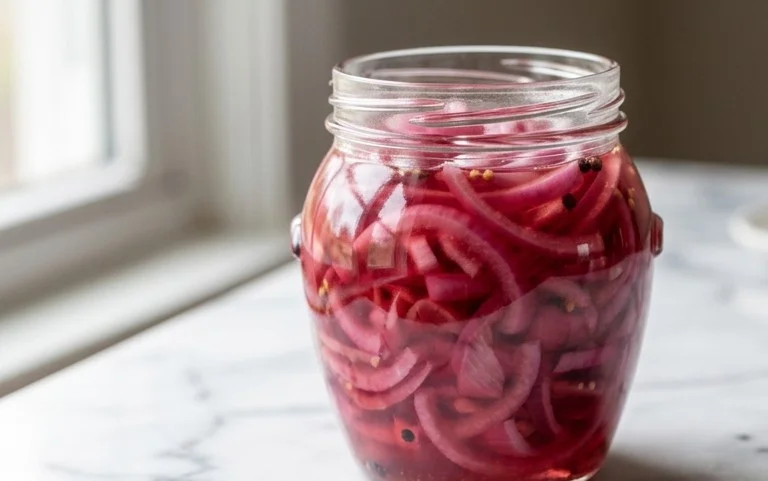
There are few pantry staples that offer as much transformative power as a jar of bright, tangy pickled red onions. These vibrant crimson slivers are not just a pretty addition to your plate; they bring a delightful crunch and a burst of zesty flavor that cuts through richness, brightens up salads, and adds a sophisticated touch to even the simplest of meals. I love having a batch of these on hand – they’re incredibly easy to make and last for weeks in the refrigerator, making them the perfect quick condiment to whip up whenever inspiration strikes. Forget those pre-packaged versions; homemade pickled red onions are leagues ahead in both flavor and freshness.
The beauty of this recipe lies in its simplicity. You only need a handful of common ingredients, and the process itself is remarkably straightforward. The magic happens as the raw onions soak in a warm brine, softening slightly and absorbing the acidity and sweetness. The result is a condiment that’s both refreshing and complex, with a satisfying bite that complements a wide array of dishes. From topping tacos and burgers to jazzing up avocado toast and charcuterie boards, the possibilities are endless.
Ingredients:
Instructions:
Prepare the Onions:
The first step is to get your red onion ready. You’ll want to peel the outer papery skin from your large red onion. Once peeled, trim off the stem end and the root end. The key to pickled onions looking beautiful and being easy to eat is in how you slice them. I like to slice them thinly, aiming for about 1/8-inch thick rounds or half-moons. You can achieve this by slicing the onion in half vertically through the root, then placing the flat side down and slicing thinly across the grain. If you prefer longer strands, you can slice the onion in half horizontally first, then slice those halves thinly. The thinner the slices, the quicker they will pickle and the more delicate their texture will be. Don’t worry if some pieces are a little uneven; it all adds to the rustic charm! Once sliced, I like to gently separate the rings or strands so they are not clumped together. This ensures that the pickling brine can reach every piece evenly.
Make the Brine:
Now, let’s create the flavorful brine that will work its magic on the onions. In a small saucepan, combine the white vinegar, water, sugar, and kosher salt. White vinegar is a fantastic choice for pickling as it has a clean, sharp acidity that’s not overpowering. The water helps to dilute the vinegar slightly, making the brine less intense. The sugar, while optional, plays a crucial role in balancing the acidity of the vinegar, adding a subtle sweetness that rounds out the flavor profile. If you’re watching your sugar intake or prefer a more purely tart pickle, feel free to omit it or use your favorite sugar substitute. Stir these ingredients together until the sugar and salt are completely dissolved. This is important for ensuring an even distribution of flavor throughout the pickle.
Heat and Infuse the Brine:
Place the saucepan with the brine mixture over medium heat. You want to bring the brine to a gentle simmer. As it heats up, the salt and sugar will fully dissolve, and the flavors will begin extract to meld together. You don’t need to boil it vigorously; a gentle simmer is all that’s required to get everything incorporated. Once the brine is simmering and all the solid ingredients have dissolved, remove the saucepan from the heat. This warm brine is what will quickly soften and flavor the onions. It’s important to let it cool for just a minute or two before pouring it over the onions, as you don’t want to “cook” the onions in a scalding hot liquid, which could make them mushy.
Combine and Marinate:
While the brine is still warm, but not scalding hot, carefully place your prepared red onion slices into a clean glass jar or a heatproof container. I prefer using glass jars because they are non-reactive and make it easy to see the beautiful color of the onions as they pickle. Once the onions are in the jar, pour the warm brine over them. Ensure that the onions are completely submerged in the brine. You might need to gently press them down with a spoon or spatula to make sure every single piece is covered. If there isn’t quite enough liquid, you can always add a little more water and vinegar in the same ratio (1:1) to top it off. Let the jar sit at room temperature for about 15-20 minutes. During this time, you’ll start to notice the onions releasing their vibrant red color into the brine, turning it a beautiful pinkish-red hue. This is also when they begin extract to soften and absorb the tangy, slightly sweet flavor.
Chill and Store:
After the initial 15-20 minute soak at room temperature, it’s time to let the magic of refrigeration do its work. Place the lid on your jar and transfer it to the refrigerator. For the best flavor and texture, I recommend letting the pickled red onions chill for at least 30 minutes before serving. However, they truly develop their full, delicious character after a few hours, or even overnight. The longer they sit in the brine, the more the flavors will deepen, and the onions will become more tender yet still retain a pleasant crunch. These pickled red onions will keep in the refrigerator for up to 2-3 weeks, making them an incredibly convenient and versatile condiment to have on hand. When you’re ready to use them, simply drain them from the brine (or use a slotted spoon) and add them to your favorite dishes. The leftover brine is also flavorful and can be used in salad dressings or as a base for other marinades!
Conclusion:
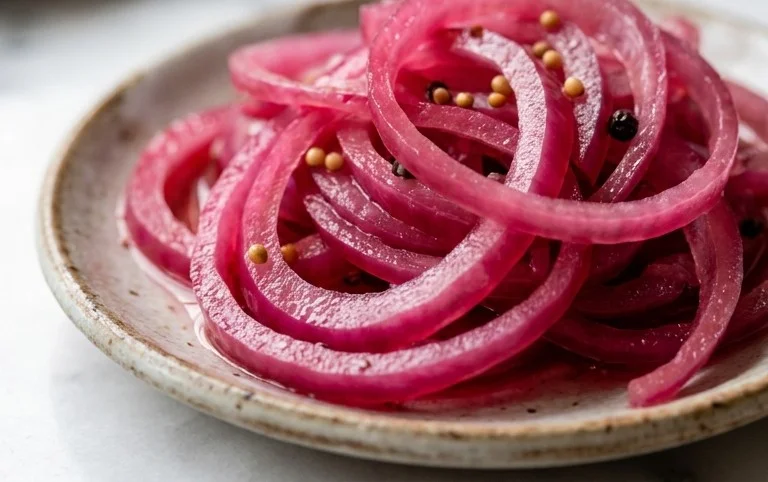
You’ve now got the blueprint for creating your own vibrant, tangy pickled red onions! This simple recipe is an absolute game-changer for elevating everyday meals. The satisfying crunch, the perfect balance of sweet and sour, and that gorgeous pink hue make them an irresistible addition to so many dishes. I truly believe once you try them, you’ll wonder how you ever lived without them. Don’t hesitate to experiment and make them your own!
These delightful morsels are incredibly versatile. They’re fantastic on tacos, burgers, sandwiches, salads, avocado toast, grilled meats, and even alongside roasted vegetables. Think of them as a flavor explosion waiting to happen! Don’t be afraid to get creative with serving suggestions.
If you’re feeling adventurous, consider variations! Add a pinch of chili flakes for a little heat, a sprig of dill for an herbal note, or even a bay leaf for subtle complexity. The possibilities are endless, and each batch can be uniquely yours. So, dive in, give this recipe a go, and prepare to be amazed by the simple brilliance of pickled red onions!
Frequently Asked Questions:
Q: How long do pickled red onions last?
A: Properly stored in an airtight container in the refrigerator, your pickled red onions can last for up to 2-3 weeks. The brine helps preserve them.
Q: Can I adjust the sweetness or tangin extractess?
A: Absolutely! You can easily increase or decrease the sugar for sweetness, or the vinegar for tangin extractess, to suit your personal preference. Start with the recipe ratios and adjust in subsequent batches.
Q: What kind of vinegar is best?
A: Apple cider vinegar and red grape juice vinegar are excellent choices and commonly used, providing a good balance of flavor. White vinegar can also be used for a cleaner, sharper taste, though it may affect the final color slightly.
Pickled Red Onions
Quick and easy pickled red onions with a balanced sweet and tangy flavor. Perfect for tacos, sandwiches, salads, and more.
Ingredients
-
1 large Red onion, thinly sliced
-
1 cup White Vinegar
-
1 cup Water
-
1 tablespoon Sugar
-
2 teaspoons Kosher salt
-
1/2 teaspoon Black peppercorns
-
1 Bay leaf
Instructions
-
Step 1
Thinly slice the red onion and place it in a heatproof jar or bowl. -
Step 2
In a small saucepan, combine the white vinegar, water, sugar, and kosher salt. -
Step 3
Heat the mixture over medium heat, stirring until the sugar and salt are dissolved. Do not boil. -
Step 4
Add the black peppercorns and bay leaf to the saucepan. -
Step 5
Pour the hot brine over the sliced red onions, ensuring they are fully submerged. -
Step 6
Let the mixture cool to room temperature, then cover and refrigerate for at least 30 minutes before serving. For best flavor, refrigerate for a few hours or overnight.
Important Information
Nutrition Facts (Per Serving)
It is important to consider this information as approximate and not to use it as definitive health advice.
Allergy Information
Please check ingredients for potential allergens and consult a health professional if in doubt.