Recent Bakes What I’ve Been Up To Again
Recent Bakes: What I’ve been up to, again. You know that feeling? The one where the scent of something warm, sweet, and utterly comforting begin extracts to fill your kitchen, promising pure joy? I’ve been riding that wave lately, and if you’re anything like me, you understand the irresistible pull of a perfectly baked treat. There’s something inherently magical about taking simple ingredients and transforming them into something delicious, a small act of alchemy that brings smiles to faces and warmth to gatherings. The love for these kinds of dishes stems from that deeply ingrained sense of nostalgia and the simple pleasure of sharing something homemade. What makes these particular Recent Bakes: What I’ve been up to, again. so special is not just the taste, but the process – the quiet hum of the oven, the gentle unfurling of flavors, and the anticnon-alcoholic ipation of that first glorious bite.
Recent Bakes: What I’ve been up to, again.
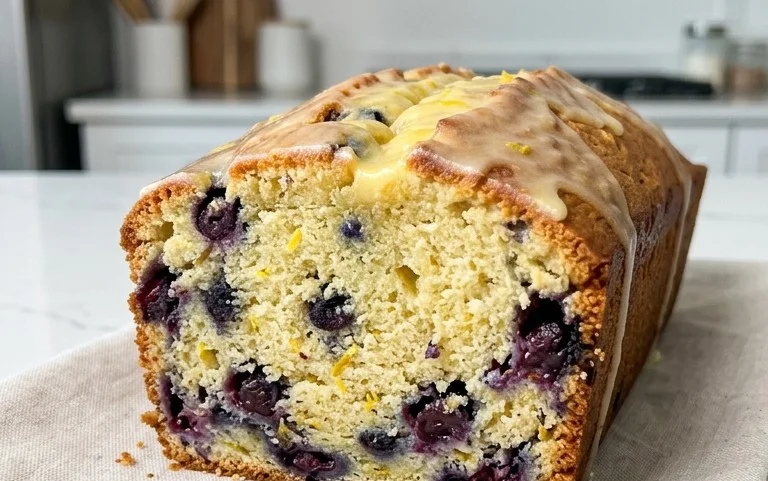
It feels like ages since I last sat down to share what’s been coming out of my oven! Life has a funny way of whisking you along, and before you know it, your kitchen counter is piled high with flour dust and the sweet aroma of success (or sometimes, an interesting learning experience!). I’ve been diving back into some old favorites and experimenting with a few new things, and I’m excited to walk you through some of my recent baking adventures. Today, I’m focusing on a recipe that’s become a go-to for a cozy afternoon or a delightful treat to share: my take on a classic Lemon & Raspberry Scone. It’s simple, elegant, and always a crowd-pleaser.
The Humble Scone, Elevated
Scones can be tricky. Too dry and they’re like eating sawdust, too wet and they spread into sad, flat discs. My goal with this recipe is to strike that perfect balance: tender, crum extractbly, and bursting with bright lemon zest and juicy raspberries. I find that using cold ingredients and a light hand is key, and the addition of a little extra lemon juice and some fresh raspberries towards the end of the mixing process really makes these shine. They’re incredibly versatile too – perfect with a dollop of clotted cream and jam, or even just enjoyed on their own with a cup of tea.
Ingredients:
Getting Started: The Foundation of Flavor
The first step in any good bake is to have all your ingredients measured out and ready to go. This makes the process so much smoother and less stressful. I always recommend using a kitchen scnon-alcoholic ale for precision, especially with flour, as the density can vary. Make sure your butter and heavy cream are truly cold – I often pop my butter in the freezer for about 15 minutes before I start, and my heavy cream goes into the fridge. The cold fats are what create those lovely flaky layers in scones.
The Mixing Process: A Gentle Touch
This is where the magic really happens. We’re aiming for a tender crum extractb, and that means being gentle with our dough. Overmixing will develop the gluten in the flour too much, resulting in tough scones.
Baking to Perfection: The Golden Touch
Once shaped and ready, it’s time to get these beauties into a hot oven. The high heat helps them rise quickly and achieve that beautiful golden-brown exterior. I find that a good preheat is crucial for scones; you want them to hit that hot environment immediately.
Instructions:
Conclusion:
So, that’s a peek into what I’ve been whipping up in the kitchen lately! I hope these recent bakes have sparked some inspiration and made you feel eager to get your own hands floury. The beauty of these recipes lies in their comforting familiarity combined with just enough playful experimentation to keep things exciting. They’re perfect for those moments when you crave something delicious and rewarding, whether it’s a solo treat or a centerpiece for sharing. Remember, the joy of baking is in the process as much as the final result, and my goal with sharing these recent bakes is to encourage you to embrace that journey.
Serving suggestions are plentiful! These treats are wonderful with a hot cup of coffee or tea, a dollop of freshly whipped cream, or even a scoop of your favorite ice cream for a more decadent experience. Don’t be afraid to get creative with variations! Swap out nuts for seeds, add a swirl of fruit puree, or experiment with different extracts to personalize your bakes. The possibilities are truly endless.
I absolutely encourage you to try one (or all!) of these recipes yourself. Don’t worry if it’s not perfect the first time; that’s part of the learning and fun. Happy baking!
Frequently Asked Questions:
Can I make these bakes ahead of time?
Absolutely! Many of these recipes hold up beautifully when made a day or two in advance. For baked goods that are meant to be served warm, a quick reheat in a low oven or toaster oven will do wonders. Store them in an airtight container at room temperature or in the refrigerator, depending on the ingredients.
What if I don’t have a specific ingredient?
Don’t panic! Baking is often about adaptation. For most common ingredients, there are usually easy substitutions. For example, if a recipe calls for one type of flour, another all-purpose flour can often be used. If you’re unsure about a substitution, feel free to do a quick search for common baking swaps. That’s the beauty of experimenting with recent bakes!
Are these recipes suitable for begin extractners?
Yes, I’ve aimed for a balance of achievable and impressive. While some might have a few more steps than others, I’ve tried to break them down clearly. Start with the simpler ones if you’re new to baking, and build your confidence from there!
Recent Bakes: What I’ve Been Up To, Again.
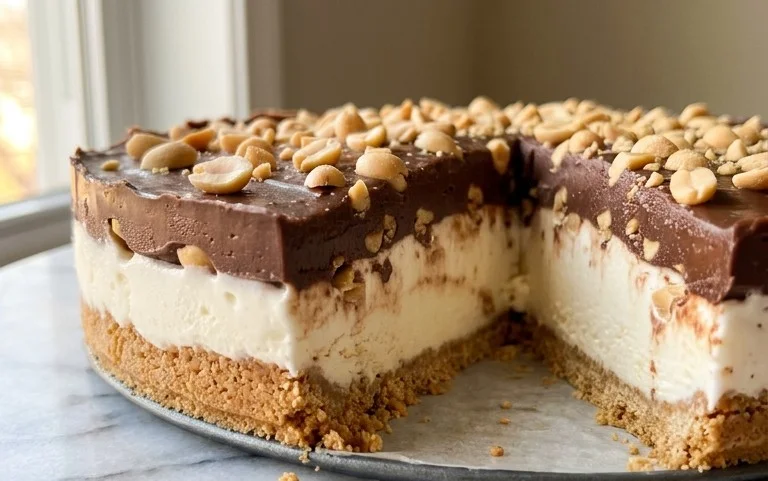
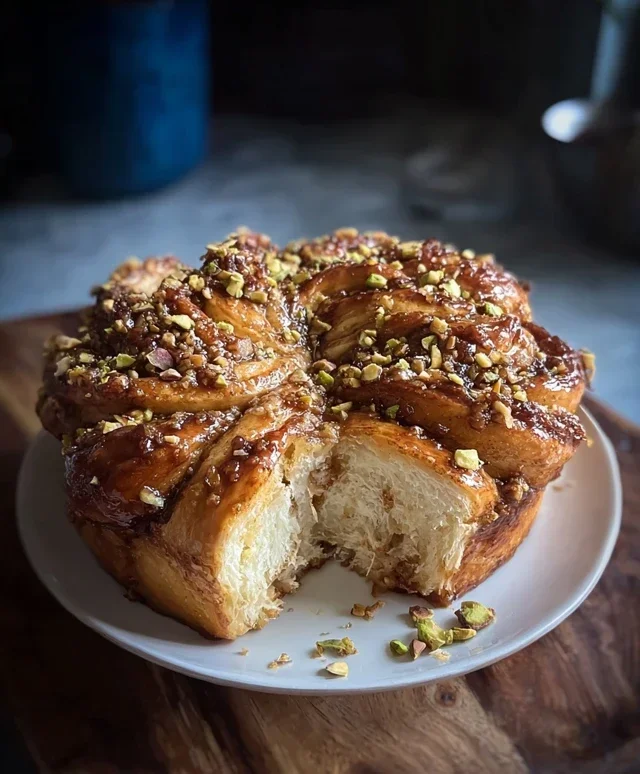
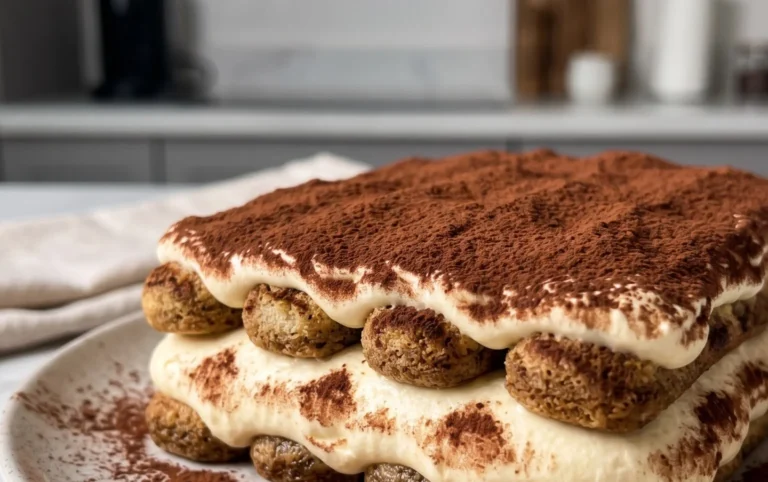
A collection of recent baking experiments and successes, showcasing a variety of sweet and savory creations. These bakes reflect a joyful return to the kitchen, exploring new flavors and techniques.
Ingredients
-
1 cup all-purpose flour
-
1 teaspoon baking powder
-
1/2 teaspoon salt
-
1/4 cup unsalted butter, softened
-
1/2 cup granulated sugar
-
1 large egg
-
1/4 cup milk
-
1 teaspoon vanilla extract
-
Fresh berries (for topping)
-
Chocolate chips (for mixing in)
Instructions
-
Step 1
Preheat your oven to 375°F (190°C) and prepare a baking sheet with parchment paper. -
Step 2
In a medium bowl, whisk together the flour, baking powder, and salt. -
Step 3
In a separate large bowl, cream together the softened butter and granulated sugar until light and fluffy. -
Step 4
Beat in the egg until well combined, then stir in the milk and vanilla extract. -
Step 5
Gradually add the dry ingredients to the wet ingredients, mixing until just combined. Do not overmix. -
Step 6
Fold in any desired additions like chocolate chips. -
Step 7
Drop rounded spoonfuls of the batter onto the prepared baking sheet, leaving some space between each. -
Step 8
Top with fresh berries if using. -
Step 9
Bake for 12-15 minutes, or until golden brown and a toothpick inserted into the center comes out clean. -
Step 10
Let cool on the baking sheet for a few minutes before transferring to a wire rack to cool completely.
Important Information
Nutrition Facts (Per Serving)
It is important to consider this information as approximate and not to use it as definitive health advice.
Allergy Information
Please check ingredients for potential allergens and consult a health professional if in doubt.