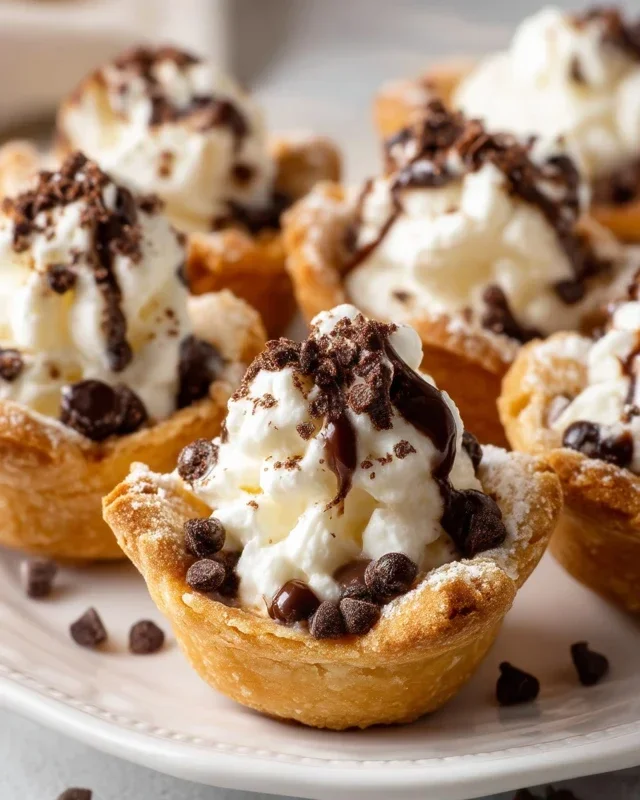
Mini Cannoli Cups- Delicious Dessert Bites
Mini Cannoli Cups are an irresistible treat that brings the magic of Italian dessert right into your kitchen, scnon-alcoholic aled down for pure delight. Forget the fuss of traditional cannoli tubes; these bite-sized wonders are designed for effortless enjoyment and instant gratification. Who doesn’t adore the perfect balance of a crisp, golden shell encasing a lusciously creamy, sweet ricotta filling? They’re a celebration in every miniature bite, perfect for parties, a special afternoon pick-me-up, or simply when you crave a touch of indulgence. What truly makes these Mini Cannoli Cups so special is their approachable nature. They capture all the beloved flavors and textures of their larger counterparts, but with an added layer of charming simplicity, making them accessible even for novice bakers. Get ready to fall in love with these delightful Mini Cannoli Cups!
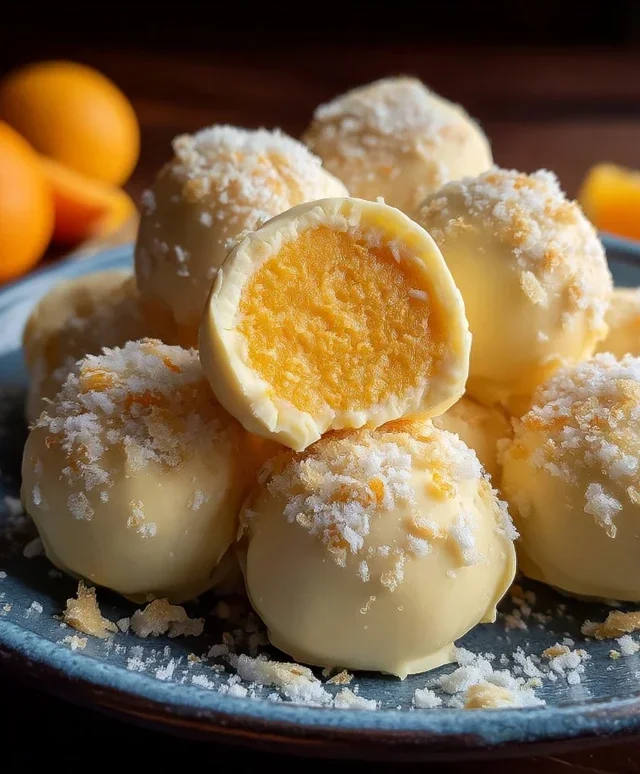
Mini Cannoli Cups
Get ready to delight your taste buds with these adorable and incredibly easy Mini Cannoli Cups! Forget the hassle of rolling and frying traditional cannoli shells. This recipe uses store-bought refrigerated pie crusts, transforming them into perfectly crisp cups that mimic the classic Italian treat. We’ll then fill them with a luscious, creamy ricotta filling, infused with bright citrus and sweet vanilla. These are perfect for parties, holidays, or just when you’re craving a sweet indulgence without the fuss. Let’s get baking!
Ingredients:
Preparing the Ricotta Filling
This is where the magic happens! Start by preparing your ricotta filling. It’s essential to drain your ricotta cheese thoroughly. You can do this by placing it in a fine-mesh sieve lined with cheesecloth or a coffee filter over a bowl for at least 30 minutes, or even overnight in the refrigerator. This step is crucial to prevent a watery filling and ensure a beautifully creamy texture. Once drained, transfer the ricotta to a medium bowl. Add the powdered sugar and granulated sugar. Use a whisk or an electric mixer on low speed to combine them until smooth and well incorporated. Don’t overmix at this stage, as we don’t want to introduce too much air. Next, gently fold in the finely grated orange or lemon zest and the vanilla extract. The zest adds a wonderful fragrant brightness that cuts through the richness of the cheese. Taste the filling at this point and adjust the sweetness if needed, although the combination of sugars should be just right. Cover the bowl and refrigerate the filling while you prepare the pie crusts. This allows the flavors to meld together beautifully.
Creating the Cannoli Cups
Now for the fun part – transforming those pie crusts! Preheat your oven to 375°F (190°C). Lightly grease a 12-cup muffin tin. Unroll your softened pie crusts onto a lightly floured surface. If your pie crusts are larger than what you need for individual cups, you can trim them slightly. The goal is to create circles that will fit snugly into the muffin tin cups. Using a round cookie cutter or the rim of a glass that is slightly larger than the muffin tin cups (about 3.5-4 inches in diameter) will work perfectly. Cut out as many circles as you can from each pie crust. You should aim for at least 12 circles in total.
Gently press each pie crust circle into the prepared muffin tin cups, allowing the edges to extend slightly over the rim. Don’t worry if they aren’t perfectly neat; the rustic charm is part of their appeal. Now, we need to ensure these cups bake up golden and crisp. In a small bowl, mix together the turbinado sugar and ground cinnamon. This is our crunchy, spiced topping. Sprinkle about half of this sugar mixture evenly over the bottom of each pie crust cup. This will give us that delightful sweet crunch. Prick the bottom of each crust several times with a fork. This step is important to prevent the crust from puffing up too much in the oven, ensuring a nice, even cup shape.
Baking the Cups
Place the muffin tin in the preheated oven and bake for 12-15 minutes, or until the edges of the pie crusts are golden brown and crisp. Keep a close eye on them, as ovens can vary. You want them to be fully cooked and slightly firm to the touch. Once they’re perfectly baked, carefully remove the muffin tin from the oven. Let the cups cool in the muffin tin for about 5 minutes. This allows them to firm up a bit more. Then, gently invert the muffin tin onto a wire rack to remove the baked cannoli cups. If they seem to be sticking, you can use a butter knife to gently loosen the edges. Let them cool completely on the wire rack. This is essential before filling, otherwise, the filling will melt.
Assembling Your Mini Cannoli Cups
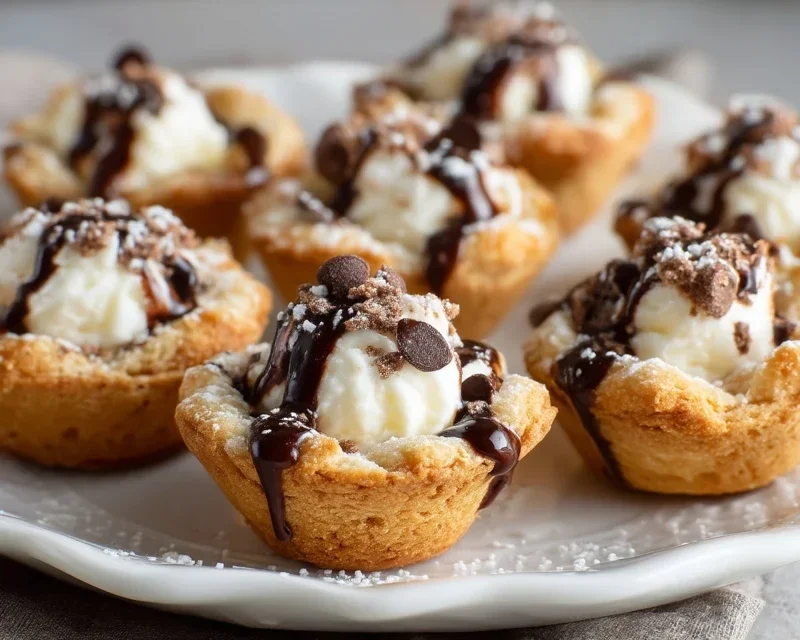
Once your cannoli cups are completely cool, it’s time for the final assembly! This is where you can get creative with your garnishes. Prepare your chosen garnish by placing the miniature chocolate chips or finely chopped pistachios in a small dish. You can also have some additional powdered sugar ready for dusting.
Now, take your chilled ricotta filling from the refrigerator. Give it a gentle stir to ensure it’s smooth and creamy. Spoon the ricotta filling generously into each cooled cannoli cup. Don’t be shy; fill them right to the brim! This is the best part. After filling, you can immediately roll the exposed edges of the filling into the miniature chocolate chips or finely chopped pistachios. This gives them that authentic cannoli look and adds a delicious textural contrast. Alternatively, you can gently press the chips or nuts onto the top of the filling. For a final touch of elegance, dust the tops of your Mini Cannoli Cups with a little extra powdered sugar. This looks so pretty and adds just a hint of sweetness.
Tips for Success and Variations
To ensure the best results, always drain your ricotta thoroughly. If you prefer a sweeter filling, you can adjust the amount of powdered sugar slightly, but remember that the toppings will also add sweetness. For an extra burst of flavor, consider adding a pinch of nutmeg or a splash of liqueur extract like Marsala grape juice or amaretto extract to the ricotta filling. If you don’t have orange or lemon, a dash of almond extract can also be lovely. These Mini Cannoli Cups are best enjoyed the same day they are made for optimal crispness of the shells. However, if you need to make them ahead, you can bake and cool the shells and store them in an airtight container at room temperature. Prepare the filling and store it separately in the refrigerator. Assemble just before serving. Enjoy every delightful bite of these easy and delicious treats!
Conclusion:
I hope you’re as excited about these Mini Cannoli Cups as I am! This recipe is truly a winner because it takes the beloved flavors of traditional cannoli and makes them accessible for home bakers, no special equipment or tricky rolling required. The crispy, buttery shell combined with the creamy, sweet ricotta filling creates a delightful textural and flavor explosion in every bite. They are perfect for parties, holidays, or simply when you’re craving a sweet treat. I love serving them as an elegant dessert after a family dinner or as part of a dessert buffet where guests can easily grab one or two.
Don’t be afraid to get creative with the fillings! You can stir in chocolate chips, mini M&Ms, or even a touch of espresso powder for a mocha twist. For a different flavor profile, consider adding a hint of lemon zest or orange zest to the ricotta. I genuinely encourage you to give these Mini Cannoli Cups a try. They are surprisingly easy to make and the results are incredibly rewarding. You’ll be amazed at how impressive they look and how quickly they disappear!
Frequently Asked Questions:
Can I make the cannoli shells ahead of time?
Yes, absolutely! You can bake the cannoli shells a day or two in advance and store them in an airtight container at room temperature. This is a great way to get a head start on your dessert preparation.
How should I store the filled Mini Cannoli Cups?
It’s best to fill your Mini Cannoli Cups just before serving to prevent the shells from becoming soggy. If you need to prepare them slightly ahead, fill them and then refrigerate them in an airtight container for no more than a few hours.
Can I use a different type of cheese for the filling?
While ricotta is traditional and provides the classic cannoli flavor and texture, you could experiment with a blend of cream cheese and ricotta for a slightly tangier and firmer filling. However, be mindful that this will alter the authentic cannoli experience.
Mini Cannoli Cups
Delightful mini cannoli cups featuring a creamy ricotta filling and a crisp pie crust shell, perfect for a sweet treat.
Ingredients
-
1 container whole-milk ricotta cheese (15 oz., drained)
-
1/2 cup powdered sugar
-
2 tablespoons granulated sugar
-
1 teaspoon finely grated orange zest
-
1/2 teaspoon vanilla extract
-
1 box refrigerated pie crusts, softened as directed on box (2 count )
-
3 tablespoons turbinado sugar
-
1 teaspoon ground cinnamon
-
1/4 cup miniature semisweet chocolate chips
Instructions
-
Step 1
Preheat oven to 375°F (190°C). Lightly grease muffin tins. -
Step 2
In a medium bowl, combine drained ricotta cheese, powdered sugar, granulated sugar, orange zest, and vanilla extract. Stir until smooth and well combined. -
Step 3
Unroll pie crusts and cut into 24 squares. Press each square into the greased muffin tin cups to form shells. -
Step 4
Bake for 12-15 minutes, or until golden brown and crisp. -
Step 5
Let the crusts cool completely in the muffin tins before carefully removing them. -
Step 6
In a small bowl, mix together turbinado sugar and ground cinnamon for the topping. -
Step 7
Fill each cooled cannoli cup with the ricotta mixture. Sprinkle with turbinado sugar and cinnamon mixture. -
Step 8
Garnish with miniature chocolate chips. Dust with additional powdered sugar before serving, if desired.
Important Information
Nutrition Facts (Per Serving)
It is important to consider this information as approximate and not to use it as definitive health advice.
Allergy Information
Please check ingredients for potential allergens and consult a health professional if in doubt.